Overview
- Chuẩn bị 1 USB Boot có dung lượng khoảng 8 GB
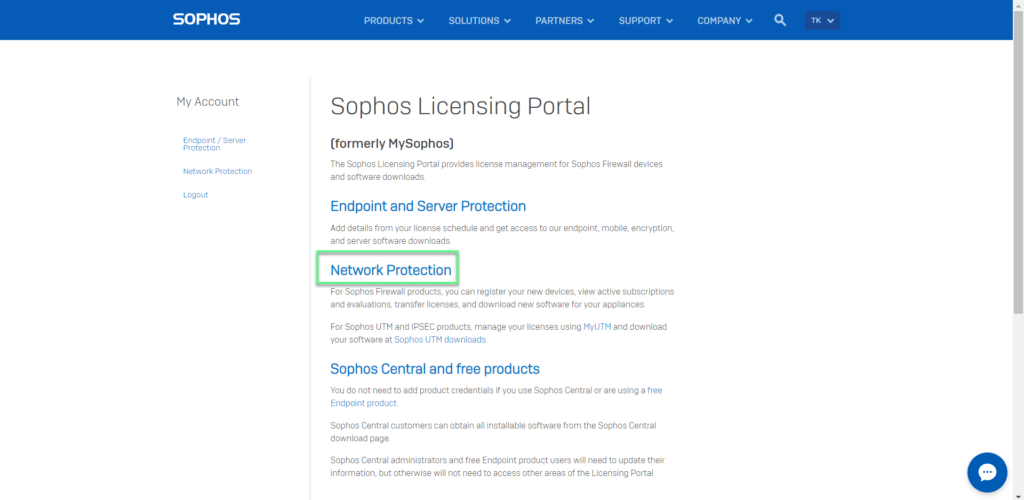
- Nhập địa chỉ sophos.com/mysophos
- Log vào với tài khoản Sophos
- Chọn Network Protection
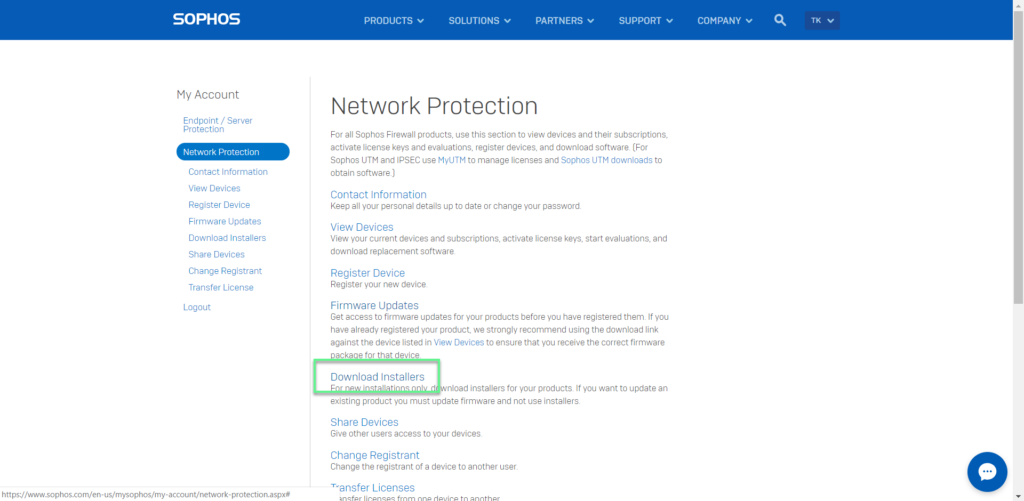
- Chọn Download Installers
- Ở phần Hardware Installers -> Firewall OS for XG Series -> Chọn Download
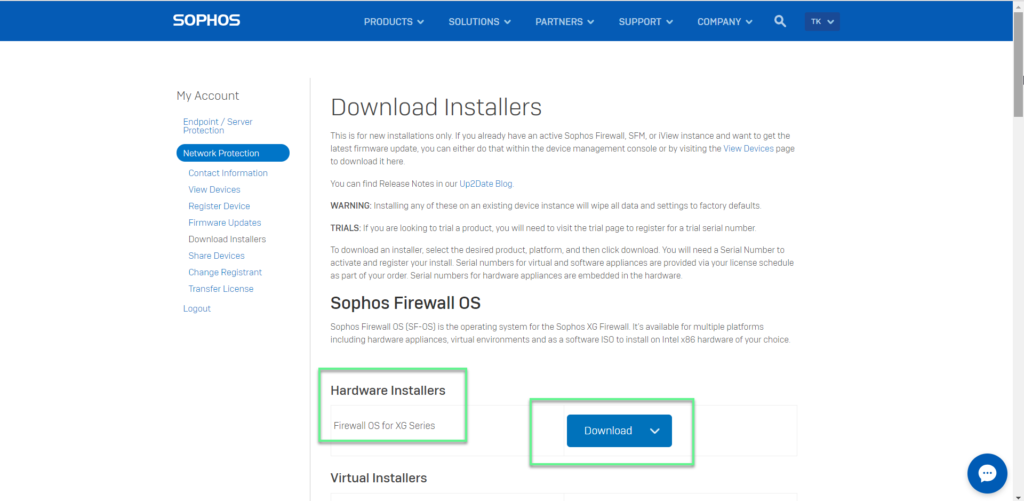
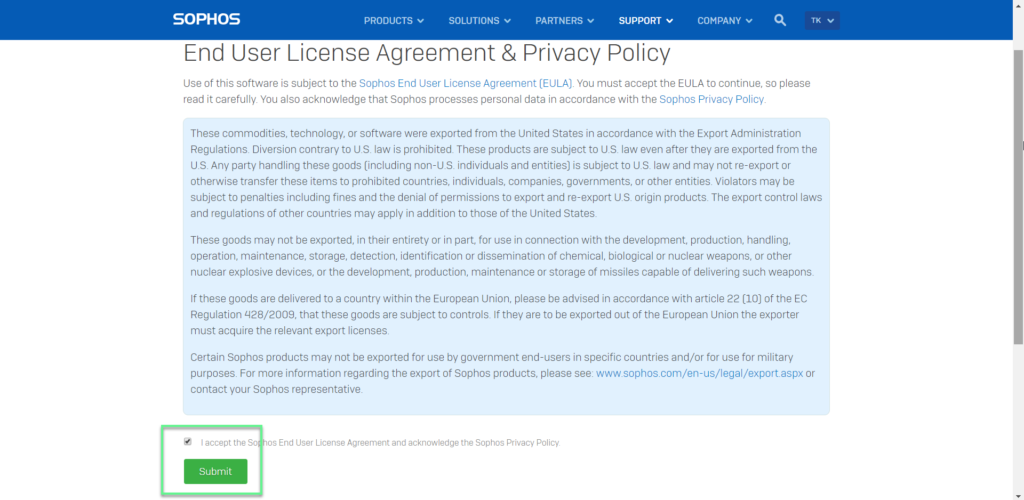
- Tick vào I accept the Sophos End User License Agreement and acknowledge the Sophos Privacy Policy -> Nhấn Submit
- Download và cài đặt phần mềm rufus để tạo USB Boot
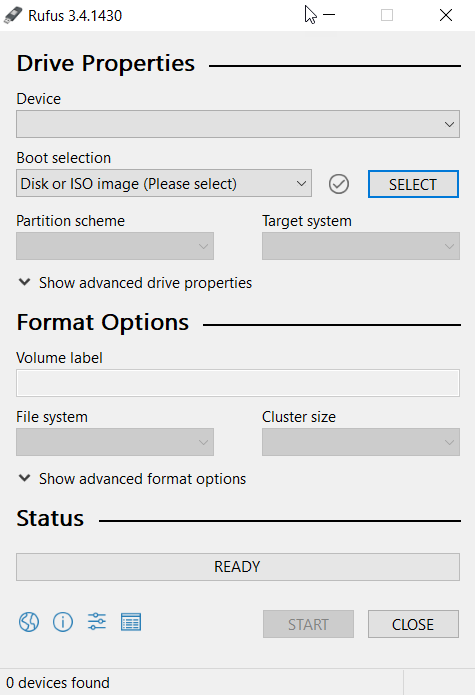
- Cắm USB vào chọn ở mục Device -> Nhấn Select để lấy file OS đã download từ trước -> Nhấn Start

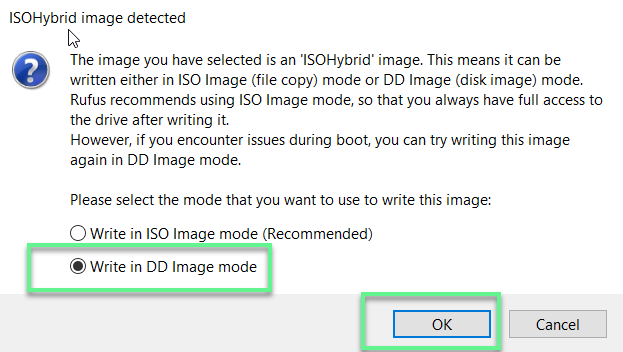
- Chọn Write in DD Image mode -> Nhấn OK -> Nhấn OK
- Sau khi đã hoàn thành tạo USB Boot, bạn hãy cắm vào cổng USB trên thiết bị Sophos XG và reboot lại thiết bị XG -> Chờ đợi khoảng 10 – 15 phút, quá trình cài đặt OS hoàn toàn tự động
- Sau khi đã cài đặt hoàn tất OS, bạn hãy rút USB ra và reboot thêm 1 lần nữa -> Hoàn tất việc cài đặt OS mới cho thiết bị Sophos XG
** Nếu bạn gặp khó khăn trong việc cấu hình các sản phẩm của Sophos tại Việt Nam, hãy liên hệ với chúng tôi
EMAIL: info@thegioifirewall.com
HOTLINE: 02862711677