Overview
Bài viết hướng dẫn cấu hình migrate profile của 1 user từ một domain đang sử dụng hiện tại sang một domain khác
Sơ đồ mạng
Hướng dẫn cấu hình
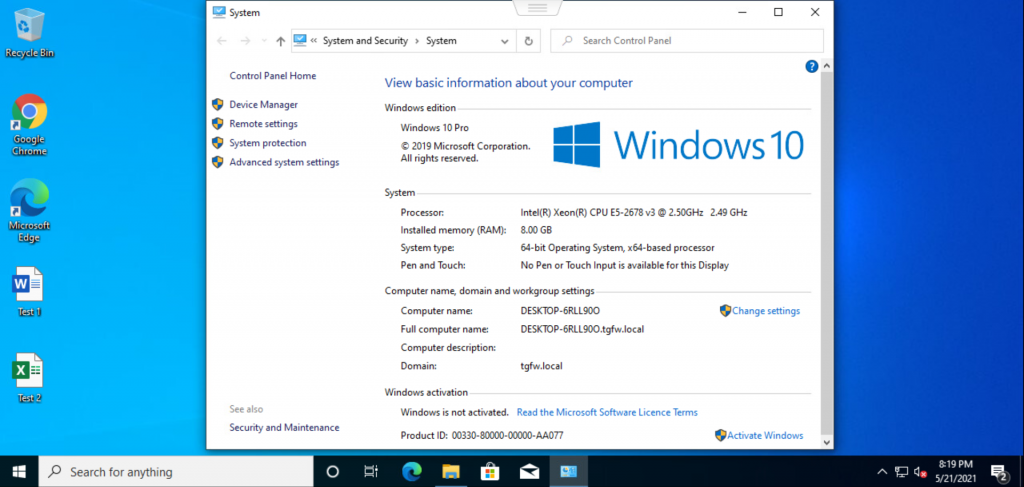
- Kiểm tra domain của máy trạm hiện tại
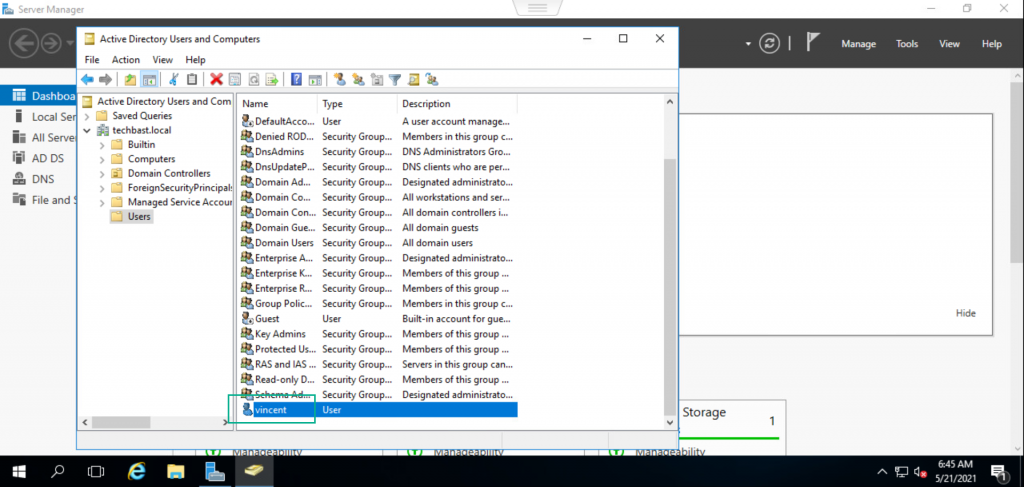
- Trên AD mới, tạo user domain
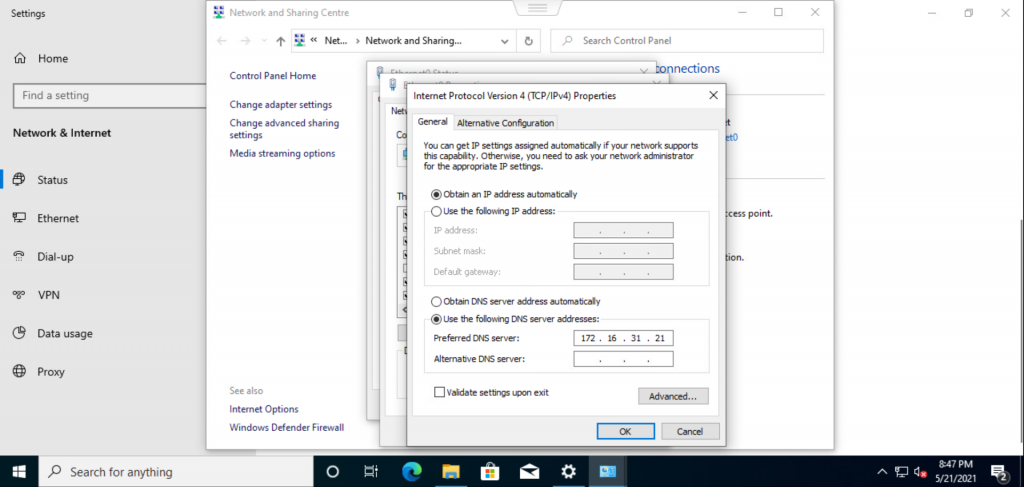
- Trên máy trạm người dùng, đổi DNS sang IP của AD mới
- Download phần mềm Profwiz để migrate user’s profile
- Nhấn double click để cài đặt
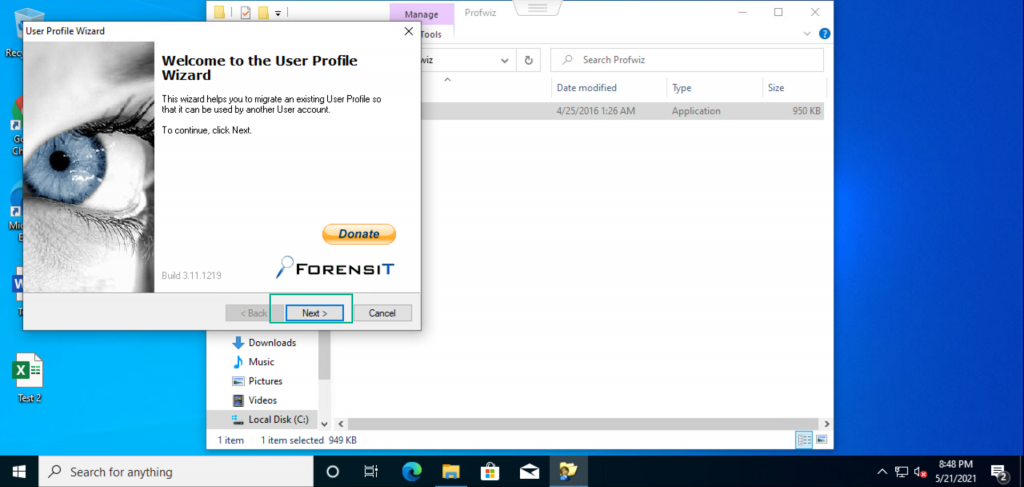
- Nhấn Next
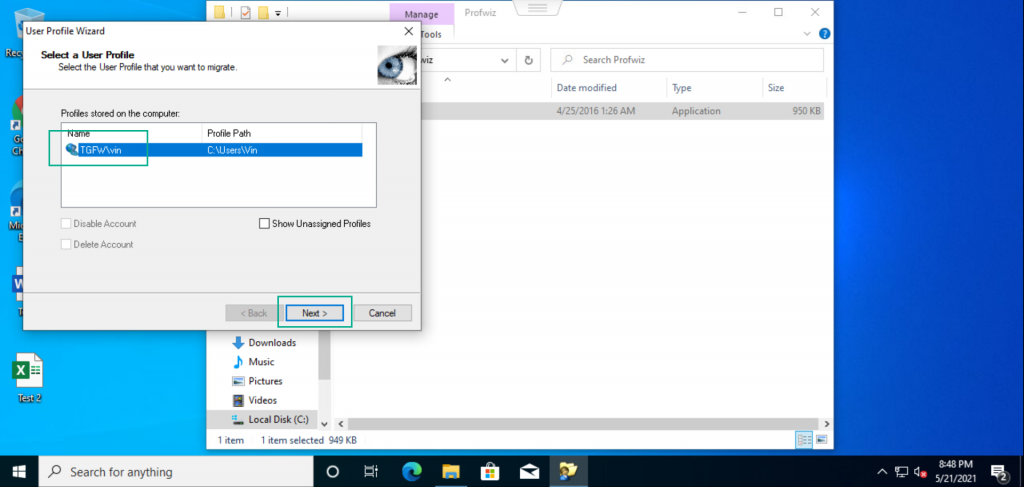
- Chọn user hiện tại trên máy người dùng mà bạn muốn migrate -> Nhấn Next
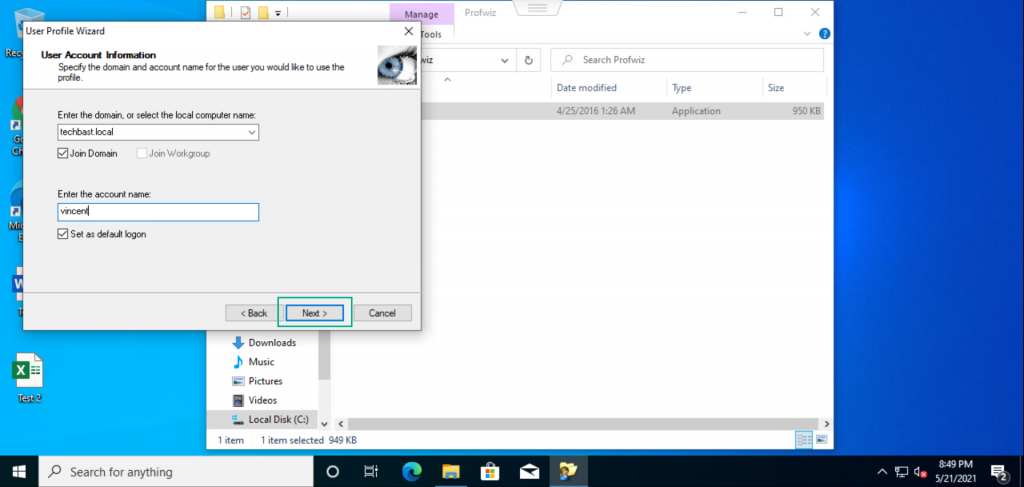
- Ở mục Enter the domain, or select the local computer name: Nhập domain mới
- Ở mục Enter the account name: Nhập user mới mà bạn muốn migrate sang
-> Nhấn Next
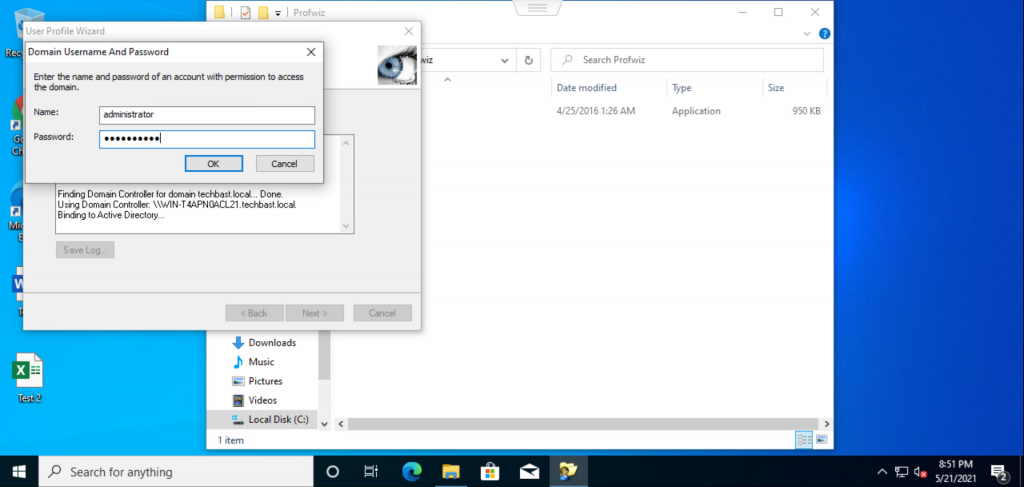
- Nhập tài khoản Administrator
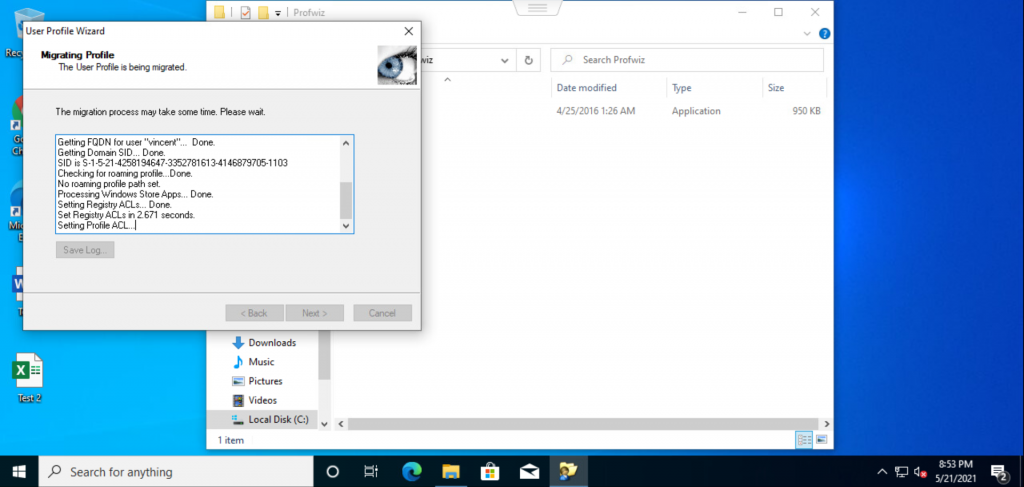
- Chờ đợi quá trình migrate
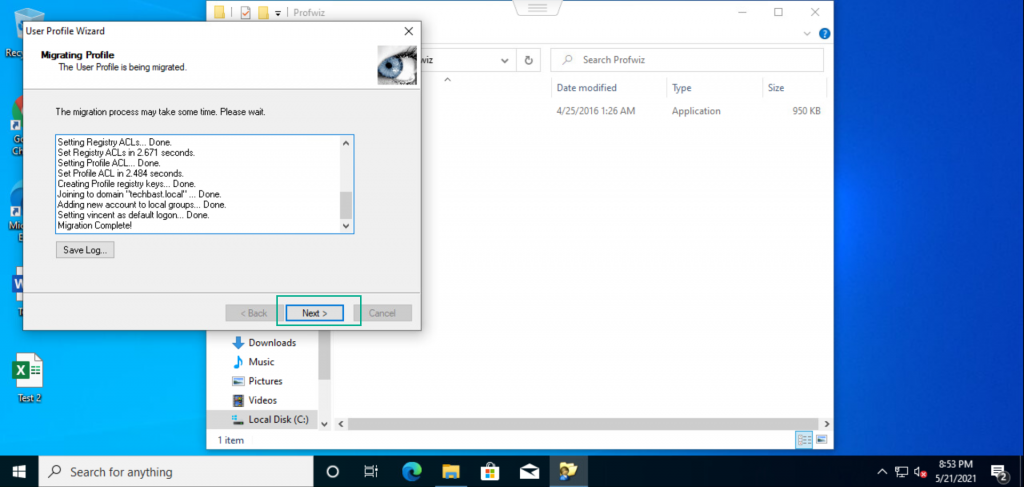
- Sau khi migrate xong, máy trạm sẽ tự động restart

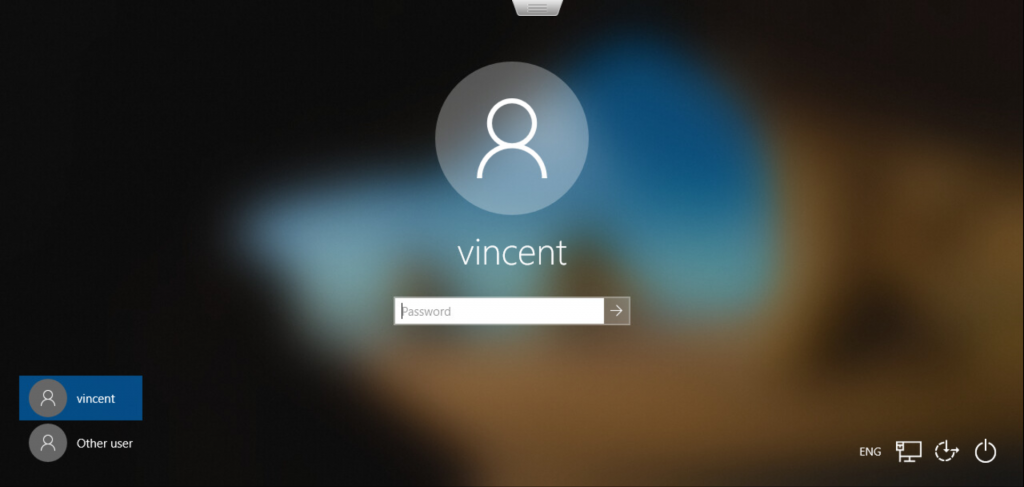
- Sau khi restart xong, đăng nhập vào user mới
- Kiểm tra máy trạm